Efficient Solutions for Your Home: New Hot Water Heater Installation by Birkdale Plumber
Installing a hot water cylinder is a crucial task that ensures you have a reliable supply of hot water for your home or business. Proper installation enhances efficiency, safety, and longevity of the system. This guide will walk you through the essentials of hot water cylinder installation, offering tips to ensure a smooth and effective process.
Understanding Hot Water Cylinders
Hot water cylinders are storage tanks designed to heat and store hot water for domestic or commercial use. They come in two main types: vented (or open-vented) and unvented. Vented cylinders use a cold water storage tank, usually located in the attic, while unvented cylinders connect directly to the mains water supply.
Planning and Preparation
Choosing the Right Cylinder:
Capacity: Determine the right size based on your household's hot water usage. A typical household requires a cylinder that holds between 100 to 300 liters.
Type: Decide between vented and unvented systems. Unvented systems offer higher pressure and are more space-efficient as they don't require a separate cold water tank.
Location:
Ensure the chosen location can support the weight of the filled cylinder.
Consider accessibility for maintenance and repairs.
For unvented cylinders, ensure there is adequate space for the expansion vessel.
Permits and Regulations:
Check local building codes and regulations. Some installations may require a permit or need to comply with specific standards.
Installation Process
Preparation:
Tools and Materials: Gather necessary tools such as pipe cutters, wrenches, a spirit level, and materials like pipes, fittings, and insulation.
Safety Measures: Turn off the main water supply and electricity or gas supply to the current water heater. Drain the existing system if replacing an old cylinder.
Positioning the Cylinder:
Place the cylinder in the designated location, ensuring it is level and secure.
If installing an unvented system, attach the expansion vessel and pressure relief valve.
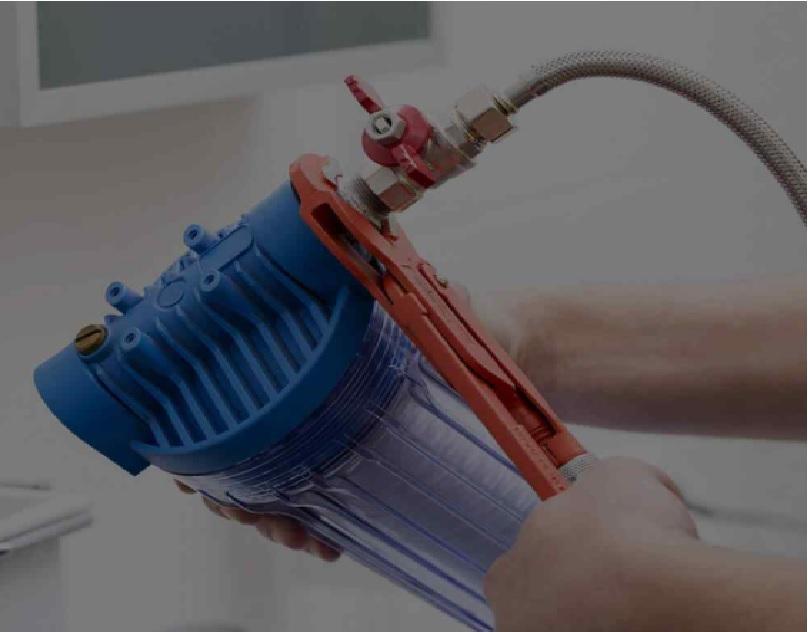
Connecting the Pipes:
Cold Water Inlet: Connect the cold water supply to the bottom inlet of the cylinder. Install a check valve and a pressure-reducing valve if required.
Hot Water Outlet: Connect the hot water outlet to the hot water distribution system. Insulate the pipes to reduce heat loss.
T&P Relief Valve: Install the temperature and pressure relief valve and ensure the discharge pipe directs to a safe location.
Electrical Connections:
For electric cylinders, connect the heating element to the electrical supply following manufacturer instructions. Ensure the system is grounded properly.
For gas systems, connect the gas supply line and ensure the venting system is correctly installed.
Filling and Testing:
Slowly fill the cylinder with water, checking for leaks at all connections.
Once filled, turn on the electricity or gas supply to start heating the water.
Check the system’s pressure and temperature settings. Ensure the T&P relief valve is functioning properly.
Final Checks and Maintenance
Insulation:
Insulate the cylinder and pipes to improve efficiency and reduce heat loss.
Consider adding a cylinder jacket for additional insulation.
Regular Maintenance:
Periodically check for leaks and inspect the T&P relief valve.
Schedule regular servicing to ensure the system operates efficiently and safely.
Conclusion
Proper Hot Water System Installation is vital for ensuring a steady supply of hot water, improving energy efficiency, and extending the lifespan of the system. By carefully planning, following the correct procedures, and performing regular maintenance, you can enjoy reliable hot water for years to come. Whether you choose a vented or unvented system, attention to detail during installation will pay off in the long run, providing comfort and convenience in your home or business.

Comments
Post a Comment